Showing posts with label bread. Show all posts

August 24, 2008

Easy Baked Eggs

I have held on to a recipe from Real Simple magazine that is a baked eggs and potatoes for the longest time. Pretty much, you bake halves of potatoes to a certain point, then you crack eggs on each half and continue to bake. I kept forgetting to get the potatoes to make this recipe, so nope, I don't know what this one tastes like just yet.

However, browsing through Food Network, I came across the new show "Ask Aida". Aida is personable, maybe a little stiff still, but I'd watch her cook. But man, her "co-host", that geeky dude, he's not helping the show. It's like Tyler Florence's How to Boil Water. I would watch Tyler cook, like I do now with is Ultimate shows, but that chick with him wasn't adding to anything. But I digress.

Aida was finishing up the Baked Eggs with Canadian Bacon, Spinach, and Aged Cheddar and they looked DELICIOUS.

The baked eggs got stuck in my head once again when I woke up this morning. I obviously don't have any Canadian bacon on hand nor spinach, aged cheddar, cream, or sourdough so I improvised.

Oakley's Easy Baked Eggs

A few slices of lunch meat - ham or turkey would do.
4 eggs
A splash of milk
A few slivers of butter
4 big pinches of shredded cheddar cheese
Salt and pepper
Optional: Cayenne pepper or hot sauce, fresh herbs of your choice, garlic powder, onion powder, whatever you want to flavor this with. Go crazy!
  1. Preheat the oven to 350F. Put lunch meat in the bottom of each ramekin and crack one egg over that.
  2. To each ramekin, add a splash of milk, a bit of butter, and seasonings. Top all of them off with cheese.
  3. Put ramekins on a baking sheet and bake for 15-18 minutes for runny eggs. If you like it well cooked (like Brandon), bake for 20-25 minutes.
Brandon didn't want cheese toast so I just throw in two slices of buttered bread on the same baking sheet, and pull them out about 10 minutes in. You can certainly use your toaster on the side instead, or a broiler after the eggs are done baking.

Very easy and straight forward, y'all!

August 14, 2008

Ultimate Corn Bread Recipe

This was posted by guest contributor Chef Jay, an east coast based professional chef.


Among all regional American cooking, Southern food is my kinda everyday food. One thing can’t be missed when serving southern food is cornbread If I eat at any BBQ place or southern style restaurant, my meal won’t be completed without cornbread and butter. Many restaurants in New England do serve cornbread along with their meal as well.

When I worked at The Concord’s Colonial Inn, cornbread was my favorite thing to nip during busy day if I don’t have time to sit down eating whole meal. Pook also love it too. I often had to grab some home for her. The best thing walking into the Inn at 630am was the smell of cornbread and baked good came from the basement of the Inn. People always ask for recipe. We never gave out as it has been our traditional recipe for over 40 years. Later, I found out the secret recipe isn’t real secret. They used corn muffin mix because of convenient purpose. Case closed.

Then, I went to work at Union, known for contemporary American cuisine. Cornbread there is voted “the Best of Boston” since opened. Baked hot in small cast iron pan. I love that recipe too but we used oil instead of butter. To me, butter, lard, bacon fat, pork fat and cow fat makes food so delicious. I will never live my life cooking without using natural fat.

After baking/testing roughly 20 cornbread recipes and a few adaptation over the course of 6 months, This is what I came up with. Sometimes, I make corn bread when I get home after work & feel hungry. It takes a few minute to prepare it. Let it bake when I am in the shower.

Here is the recipe.

1/4 lb butter (1 sticks)
1/2 cup sugar
2 eggs
3 oz diced, roasted green chilies (Optional, I skipped it this time)
3/4 cups creamed corn (Can) used Del Monte Brand.
(What da heck, throw it the whole can). Do not substitute with kennel corn.
1/2 cup shredded cheddar cheese
3/4 cups AP flour
1/2 cup yellow cornmeal
1 1/2 tsp baking powder
1/s tsp salt

With an electric mixer, cream together the butter and sugar. When it is smooth beat in the eggs, green chilies, creamed corn and grated cheese. Sift the dry ingredients together and stir into the wet mixture. Bake in a greased cake pan or muffin tins at 350 F (convection oven) for about 25-35 minutes, depending on the size of the baking pan. The objective is to get a toasty crunch on the outside while remaining moist and chewy inside.

I personally pour 1/2 cup water in a small bake tray and put inside the oven while baking cornbread. The steam will make cornbread moist and soft.

I sometimes skip the green pepper but add diced fried bacon with bacon fat into the mixture. The result? You have to try it.

I can only tell you that this cornbread recipe will be served in my future restaurant....

August 7, 2008

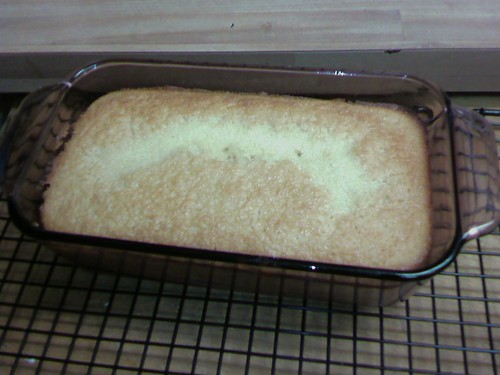
Julie: Fully cooked

This is Julie after I baked her. Oh, and I also added a few glugs of Meyer's rum and a splash of good vanilla.

0806082231.jpg

Julie has the consistency of a sourdough with a little sweetness. The bread feels heavy but the texture is not. She leaves a little bit of grease trail behind with that 1/2 cup of oil I had to add to her, but it wasn't gross. Overall, this is some tasty bread!

Pat O. is baking her version with cinnamon and nutmeg. I will have to report in when she gets to the office.

The experience with this "Hemin" Friendship Bread has been fun. And here is MY VERSION of the Hemin bread instruction (PDF) on what to do when you get yours, completed with the debunking of the holy bread myth and why you need to use a wooden spoon.

Can't you believe it? I was reading out there during my research and found someone talking about using the wooden spoon only with the bread because of its holy property. LOL.

Anyhoo. Have fun when you get yours!

August 6, 2008

Julie: Day 9

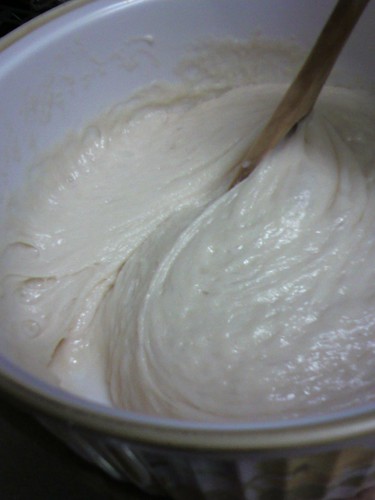
Tonight, I bake! You'll have the report tomorrow. But I think she's ready. The smell is incredible and the consistency is almost like a dough you could roll with your hands.

And yep, I'll post MY version of the instruction for this lovely culinary chain letter tomorrow.

0805082113.jpg

August 5, 2008

Julie: Day 8 - And other news

First of all, please welcome Chef House of She Said Pastry He said Food to our humble blog. House and I "met" online after he responded to one of my posts about my mom's passing. We got to talking and the next thing I know, he started to blog. He may be an experienced chef, but House also talks about street food and how to improve our home cooking. Hopefully we can all learn from his input.

Welcome, Chef House!

And now, Julie report. She was SUPER bubbly last night. She rose up to just about the same size the other day. Since the photo and report is one day behind, Julie's bake off day actually is tomorrow. I will report in on how she did and, yes, I will post the instruction as well.

0804082040.jpg

August 4, 2008

Julie: Day 7

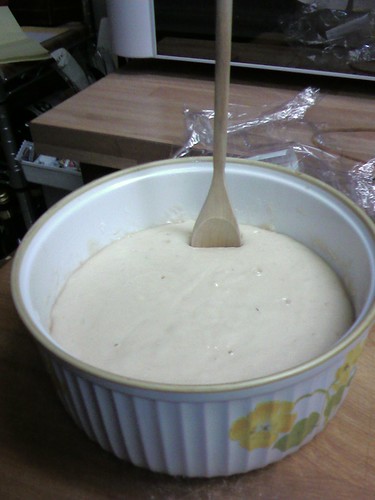
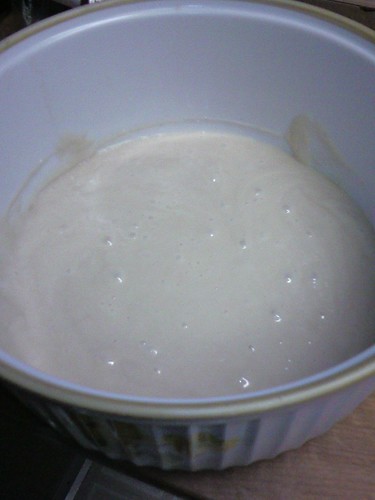
Look at how big she's gotten! When I left the house this morning (Day 8 picture tonight), she was a little bit bigger than this now.

And the kitchen starts to smell a little bit like bread even when she's all covered.

0803081723.jpg

August 3, 2008

Julie: Day 6

There she grew! And she was thick enough to hold up a spoon all on her own. Neat, eh?

I also just now realized that the 10th day when I suppose to bake her, I can't do it. I'll be at a dinner that night. Hopefully, I can leave her on the counter for one more day. Or I can stay up until midnight baking her...?

Any expert suggestion on what I should do?

0802081943.jpg

August 2, 2008

Julie: Day 5

This is Julie before feeding. Big bubbles and the smell, still yeasty, but a little bit on a questionable side than a fresh bread smell the day before. But hey, that's the process.

0801082333.jpg

This is Julie after I fed her milk, flour, and sugar. A little bit more in volume and she's thicken up quite nicely.

0801082338.jpg

August 1, 2008

Julie: Day 4

Bigger bubbles at the end of Day 4.

So far, she seems happy, bubbling away. She's smelling of fresh bread right now. I wonder how this might change once I feed her flour, sugar and milk tonight.

Oh, someone has asked if I will post the instructions for the bread here. I will as soon as I retype up a new sheet so everyone can use it for their friends later on.

0731081838.jpg

July 31, 2008

Julie: Day 3

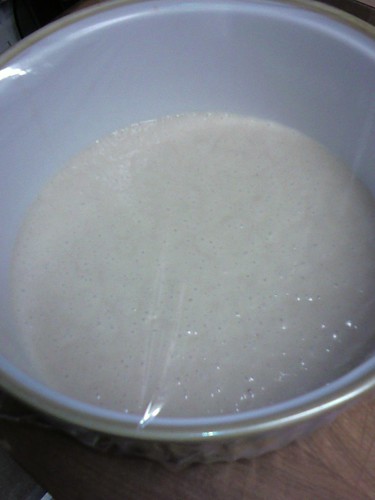
Not much going on. Still bubbly after stirring.

By the way, I've done some more research on the Hemin bread starter which is what Julie is. I updated it over on Julie Day 1. Check it out.

0730081855.jpg

July 30, 2008

Julie: Day 2

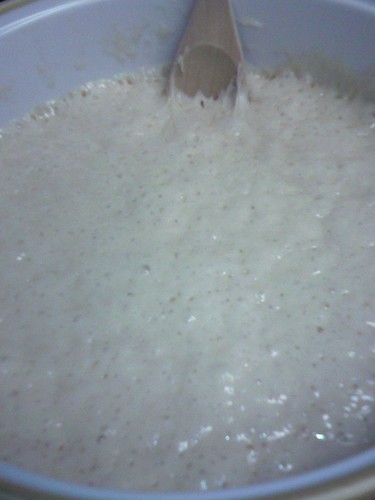
Look at all the bubbles! She's definitely alive.

0729082322.jpg

July 29, 2008

Julie Watch: Day 1

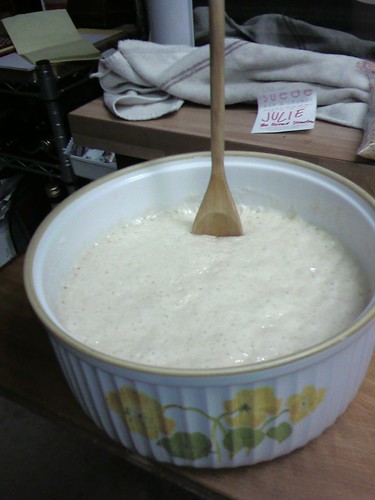
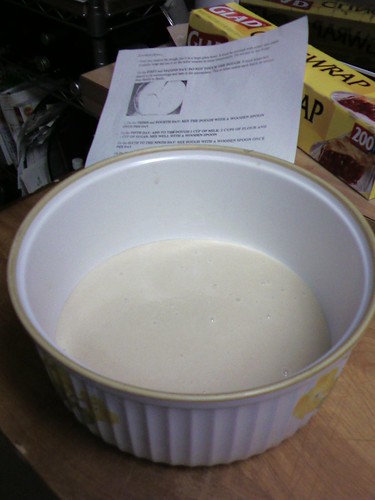
This is Julie, my friendship bread starter passed to me from a friend. Julie will be my first bread that is not banana nut!

This is julie my starter

ETA: Upon reading the instruction further, I come to find out that this is NOT the traditional Amish Friendship Bread. Instead, this is the urban-mythical Hemin Bread.

Essentially, it's the same thing as the Friendship bread but someone started to add the whole Catholic myth to it. i.e. the starter came from Padre Pio of the Vatican and therefore this bread is holy. Brilliant story for an urban myth, whoever started this one.

Oh, and the whole using ONLY the wooden spoon thing is not adding any more magical element to the dough. I don't know why exactly yet--some please shed some light on this one. But I'm sure it has to do with chemical reaction of yeast and metal, and the fact the dough would stick to the metal spoon like crazy.